Barcodes and InDesign Mail Merge

InDesign's Variable Data functionality supports barcodes
With Adobe InDesign, you can create documents that include variable data. The classic example of a data merge is, of course, the direct mailing letter where the variable data consists of the name and address of the recipient and their name and perhaps other data are generously sprinkled across the letter to create a personalized experience.
If you sell products, you can, of course, also use data merge functionality to create a stock list that contains your Christmas offerings with each product listed, complete with their barcodes so the warehouse pickers don’t lose time looking up the UPC-A numbers but scan them in from the list when an order is placed.
InDesign data merging is a 3-step workflow:
- Create a list of barcodes with Barcode Producer, using its (optional) Automator module.
- Create a CSV file that holds product descriptions and everything else you need, including the file path to each product’s barcode.
- Create the InDesign layout document containing the variable data fields and have InDesign compile it, print it, export it to PDF, or publish it online. First things first: create your CSV file with products and UPC-A numbers.
Creating the barcodes
For this tutorial, we will use an UPC-A barcode as our example.
Step 1: Select UPC-A from the Retail list in Barcode Producer.
Step 2: Click the Automator button.
Step 3: Either enter a numeric range of UPC-A numbers you already have assigned to your products or import them from a CSV file that contains the UPC-A numbers you’ll be using for your products.
NOTE: Leave the Add Prefix, Suffix and Price empty for this tutorial. If you made a mistake, you can delete one of the generated barcodes or modify them by clicking the Modify or Delete buttons.
Step 4: Leave the output file format and other options at their default settings. Click the Generate button. A window will open where you must create a new folder to hold the barcodes.
For this tutorial, we used “datamerge” as the folder’s name.
The InDesign data merge workflow
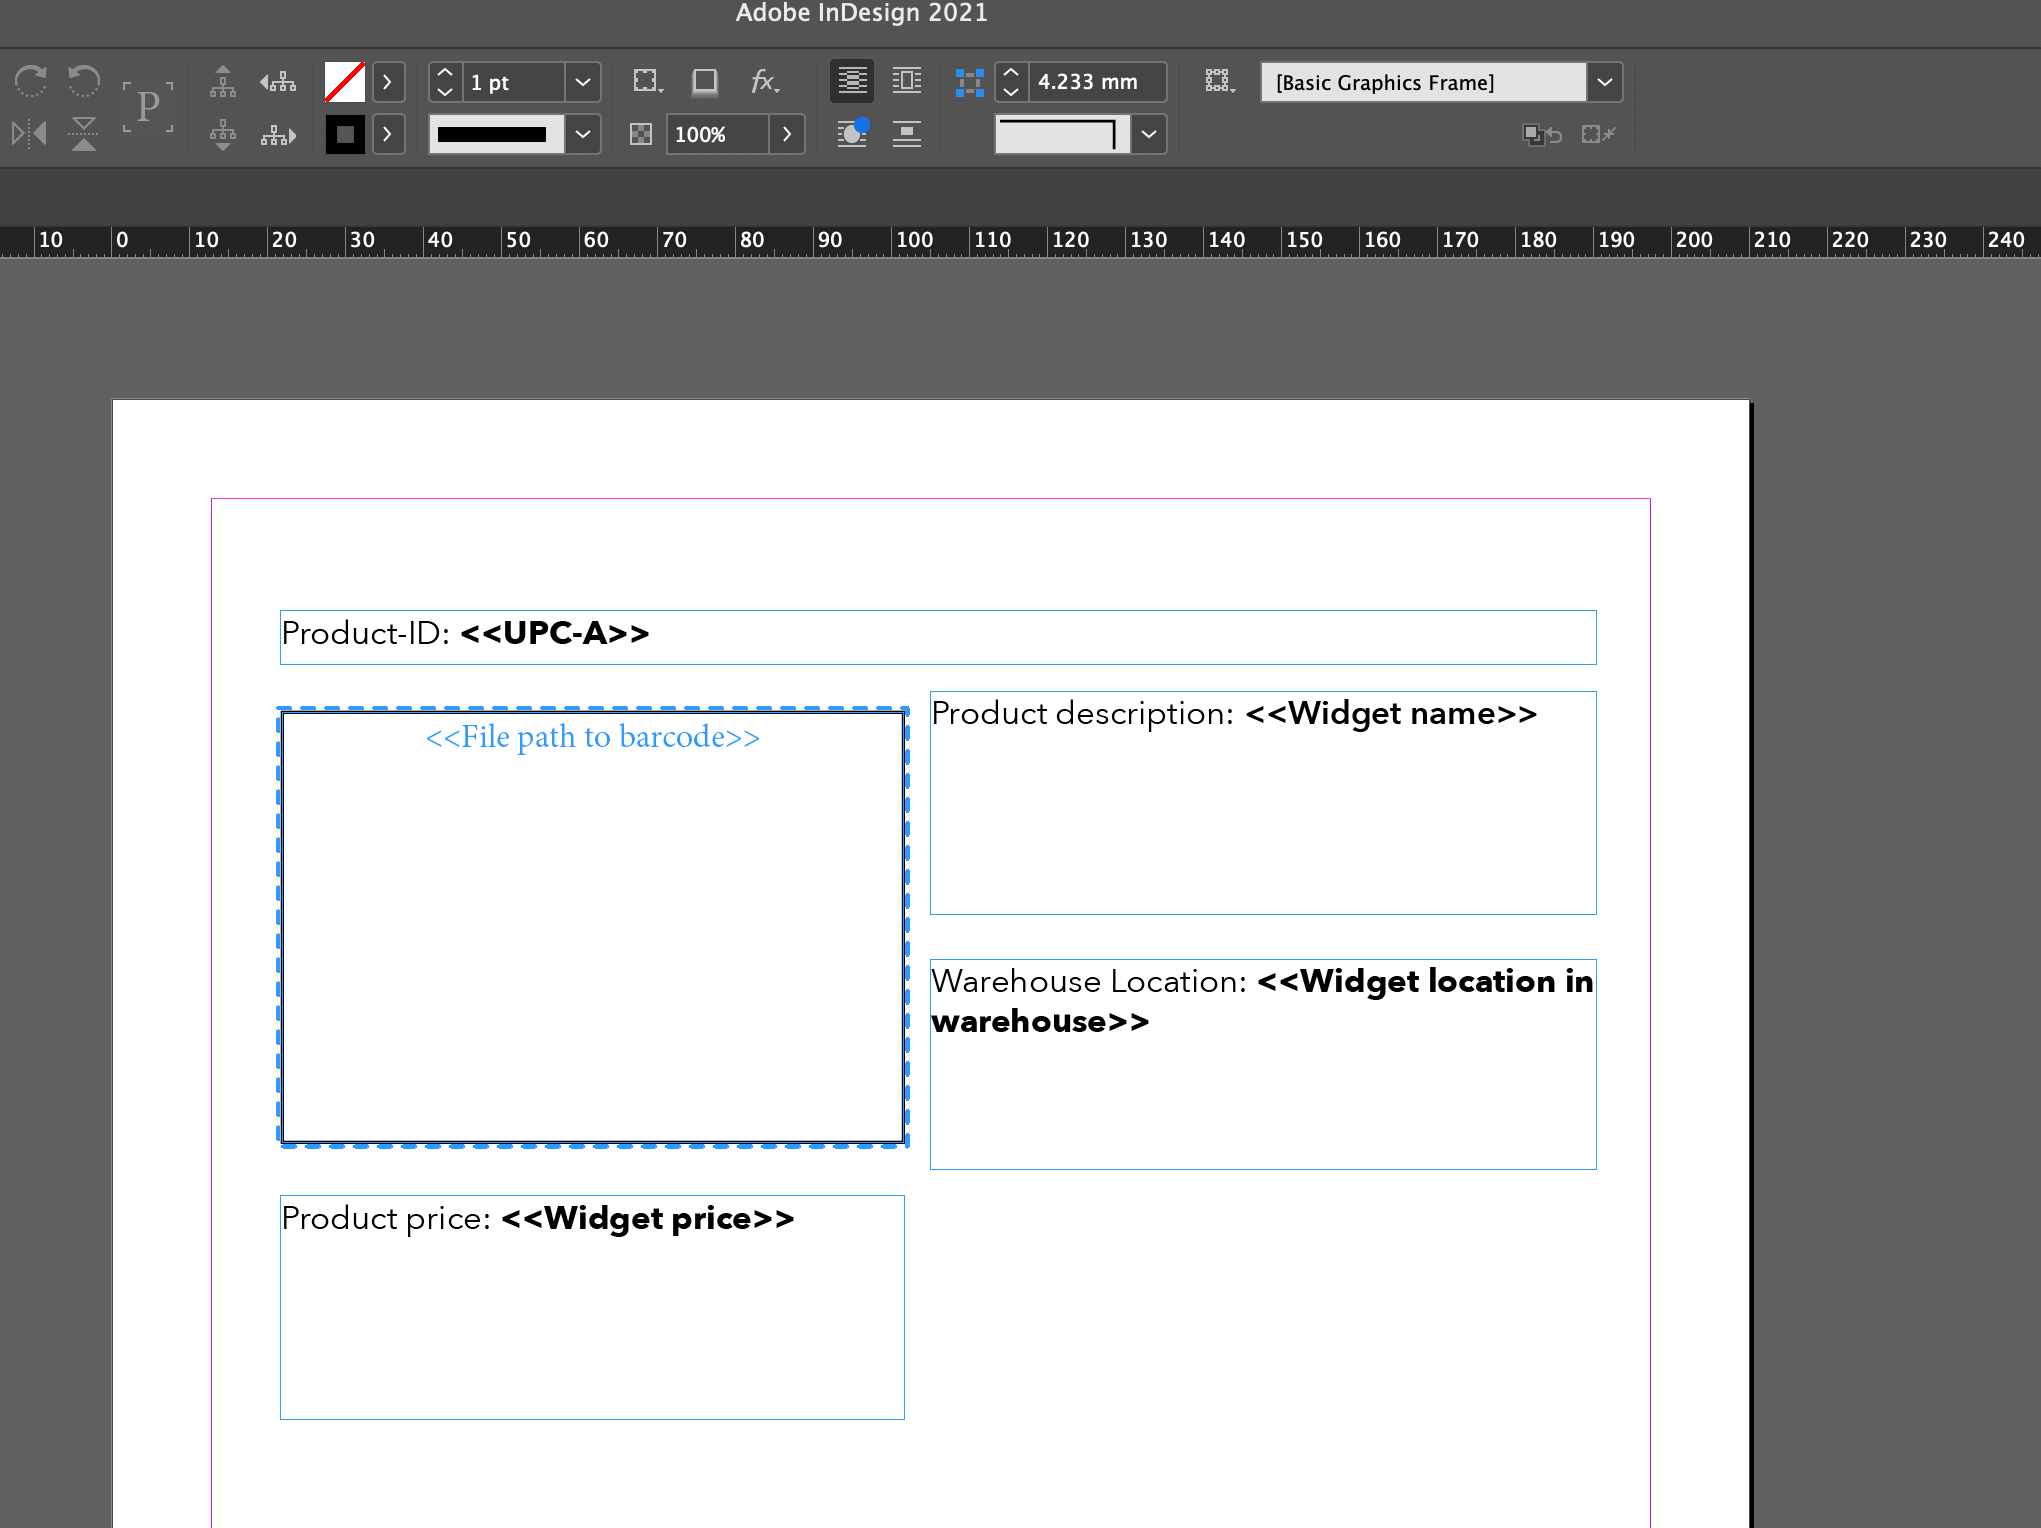
Now open your CSV file with products and add a field to every product that will hold the file path to the UPC-A barcode.
InDesign recognizes these paths as paths to an image file if you start the data field name with an @ symbol.
If you’re using Apple Numbers you can enter the @ without reservations. Some applications, such as Microsoft Excel, however, reserve the @ symbol for functions. In that case, put a ‘ in front of the @ symbol.
Step 1: In InDesign, create your layout and — where you want the fields to appear upon output — leave open spaces where appropriate.
Step 2: Open the Window > Utilities > Data Merge panel.
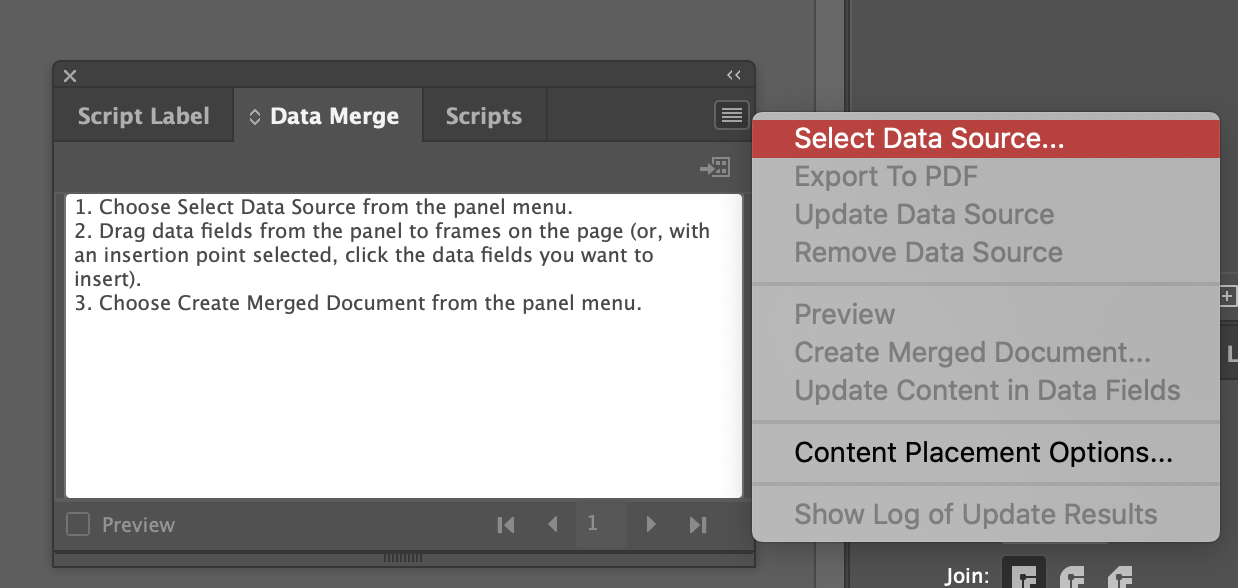
Step 3: Click the panel menu and select Select Data Source…
NOTE: If you make any changes to the CSV file while working with InDesign, you will have to select the Update Data Source from the panel’s menu to have InDesign load the latest data.
NOTE ALSO: Merging data equals one “record” per page; you cannot have several records on the same page.
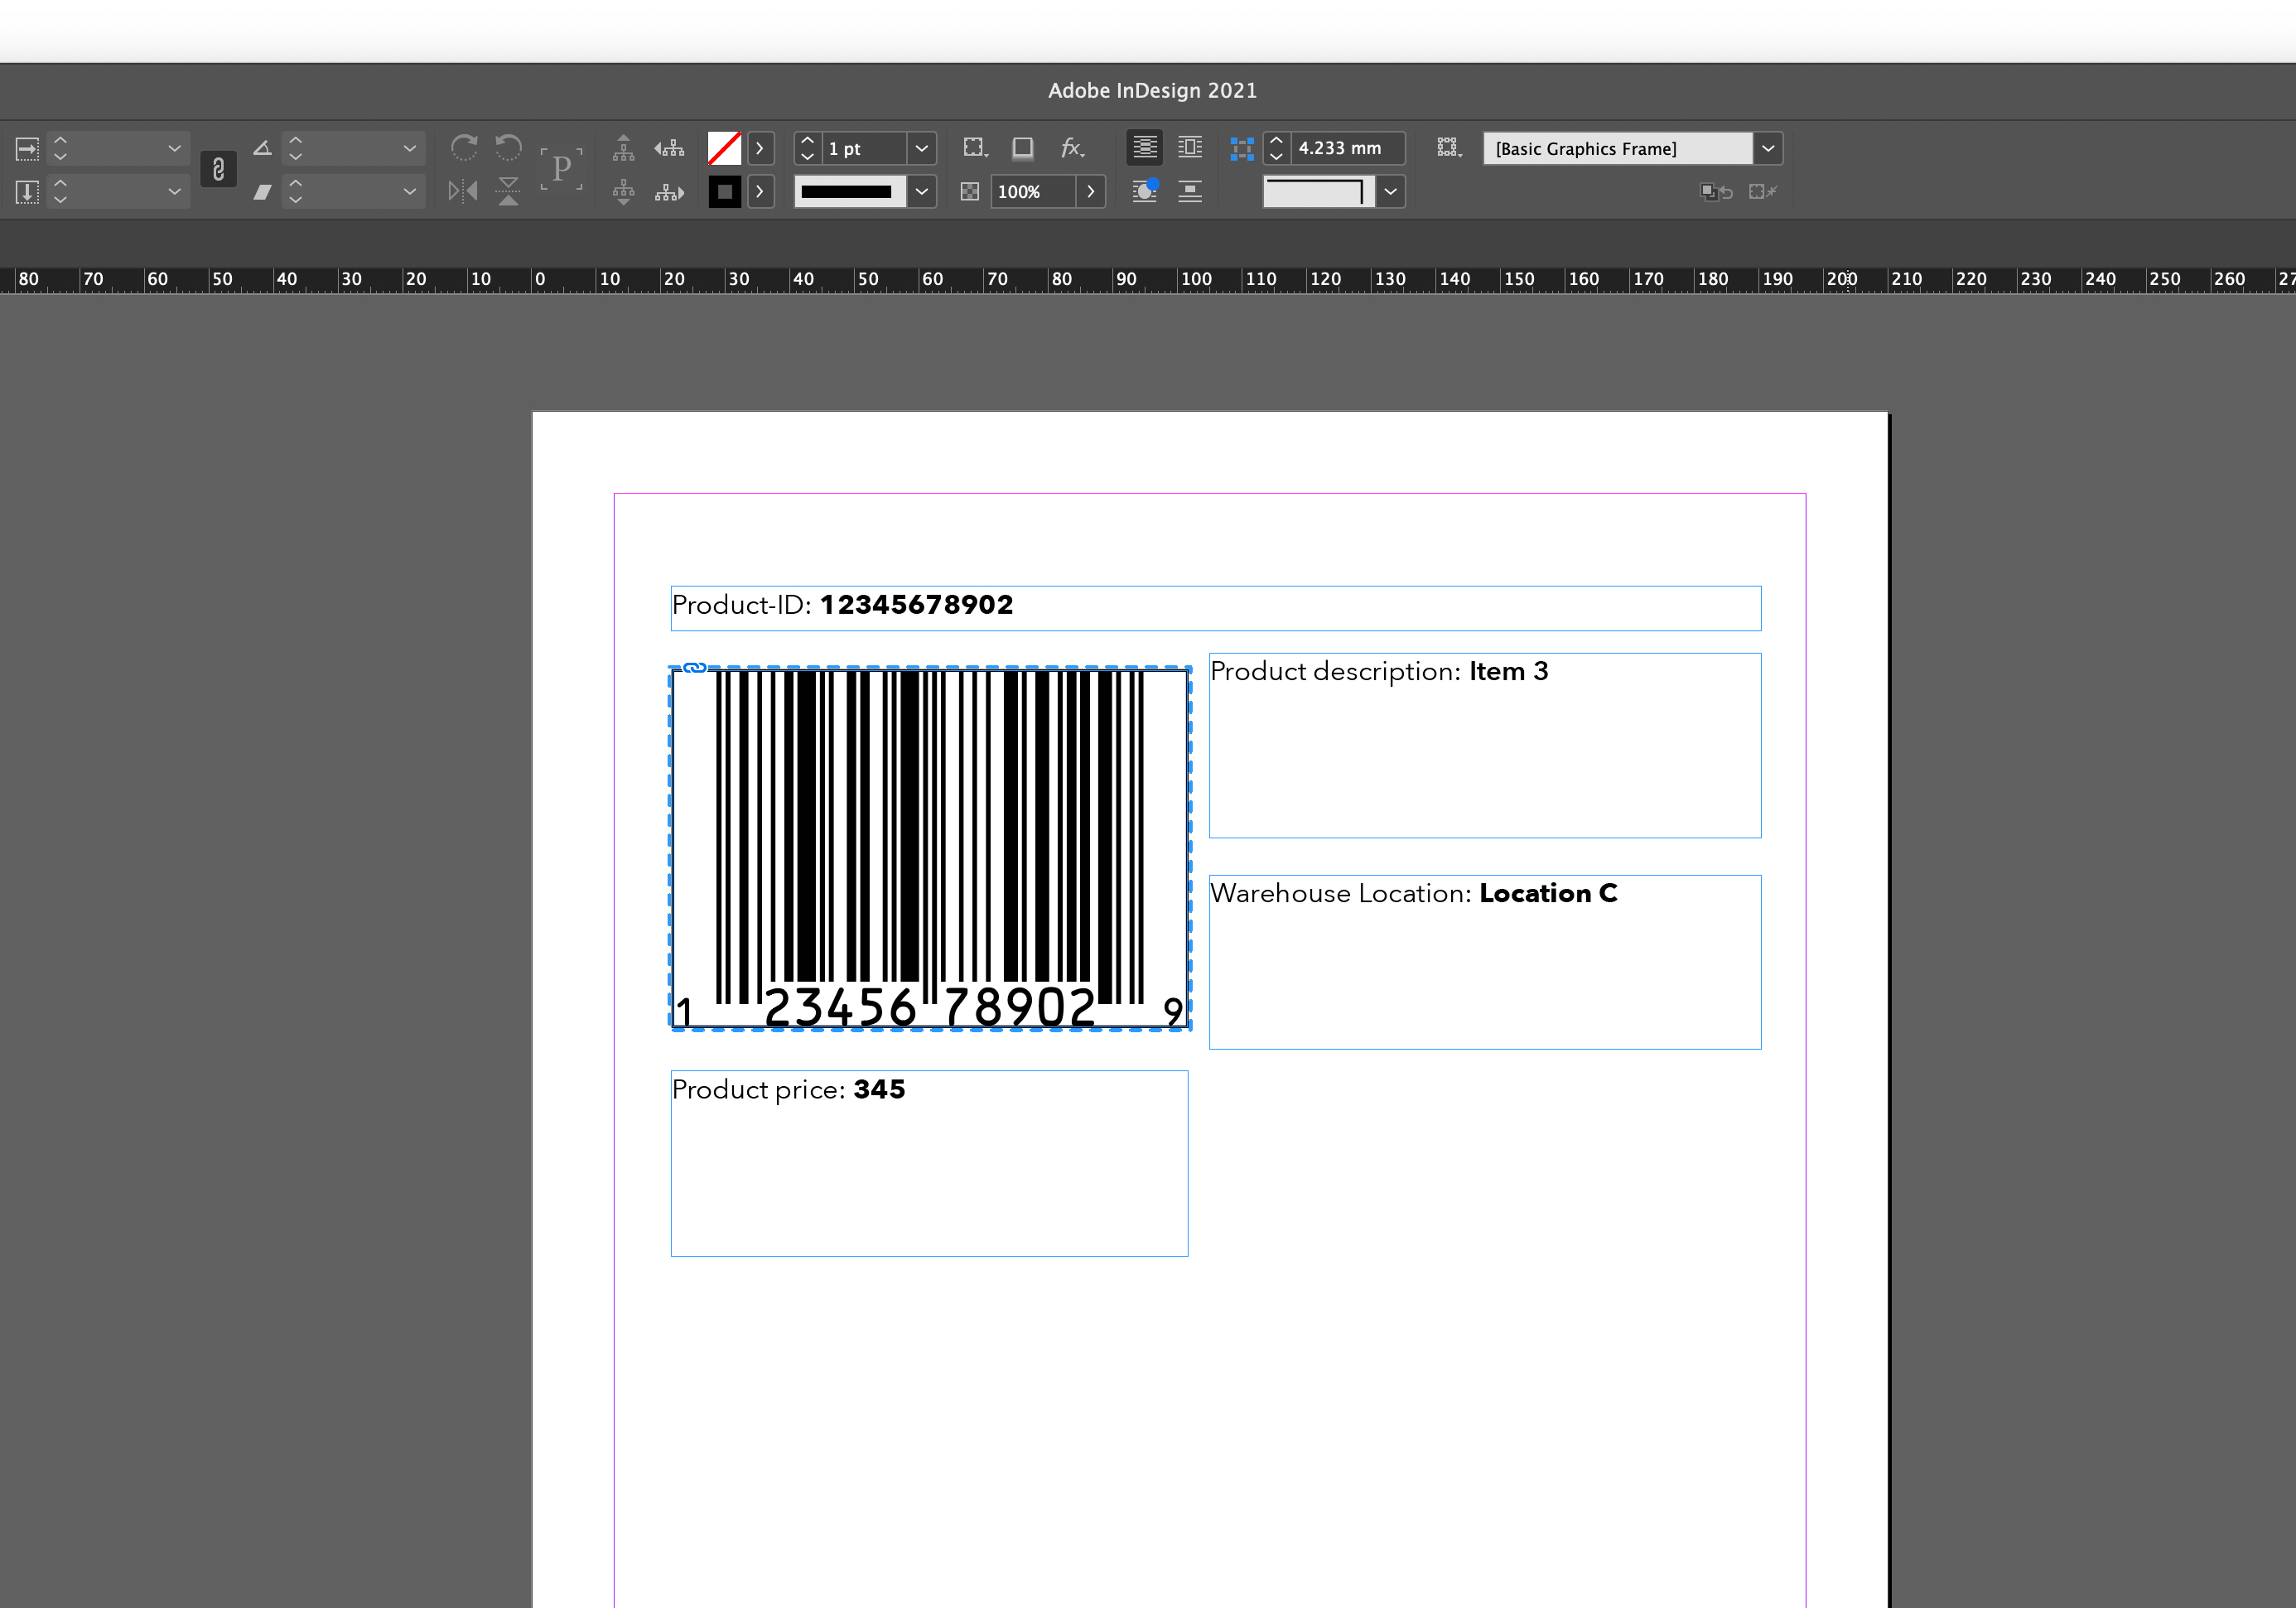
The result is something like this…