Barcodes for Apple Pages
Apple Pages is Apple’s word processor. It has some robust layout features and supports free placement of images and vector art running in-between text or placed at fixed locations on the page.
As such, it’s a good app to create simple brochures and simple packaging layouts, even, complete with barcodes somewhere on the page. However, although Pages has a bunch of readymade vector shapes, it doesn’t allow you to create industry-standard barcodes from within the app.
Barcodes must comply with specific industry standards, so to make one that you can use in your Pages document, you will need a barcode generator app and Barcode Producer fits the bill. It offers design capabilities that comply with the standard requirements so that barcodes can be read with a barcode scanner such as the IntelliScanner Pro as well as with area imagers and portable data collectors.
And very important: Barcode Producer’s workflow is just as user-friendly and its interface integrates beautifully with the latest versions of macOS.
So, how do you go about using barcodes with Pages? Here’s a step-by-step guide.
Step 1
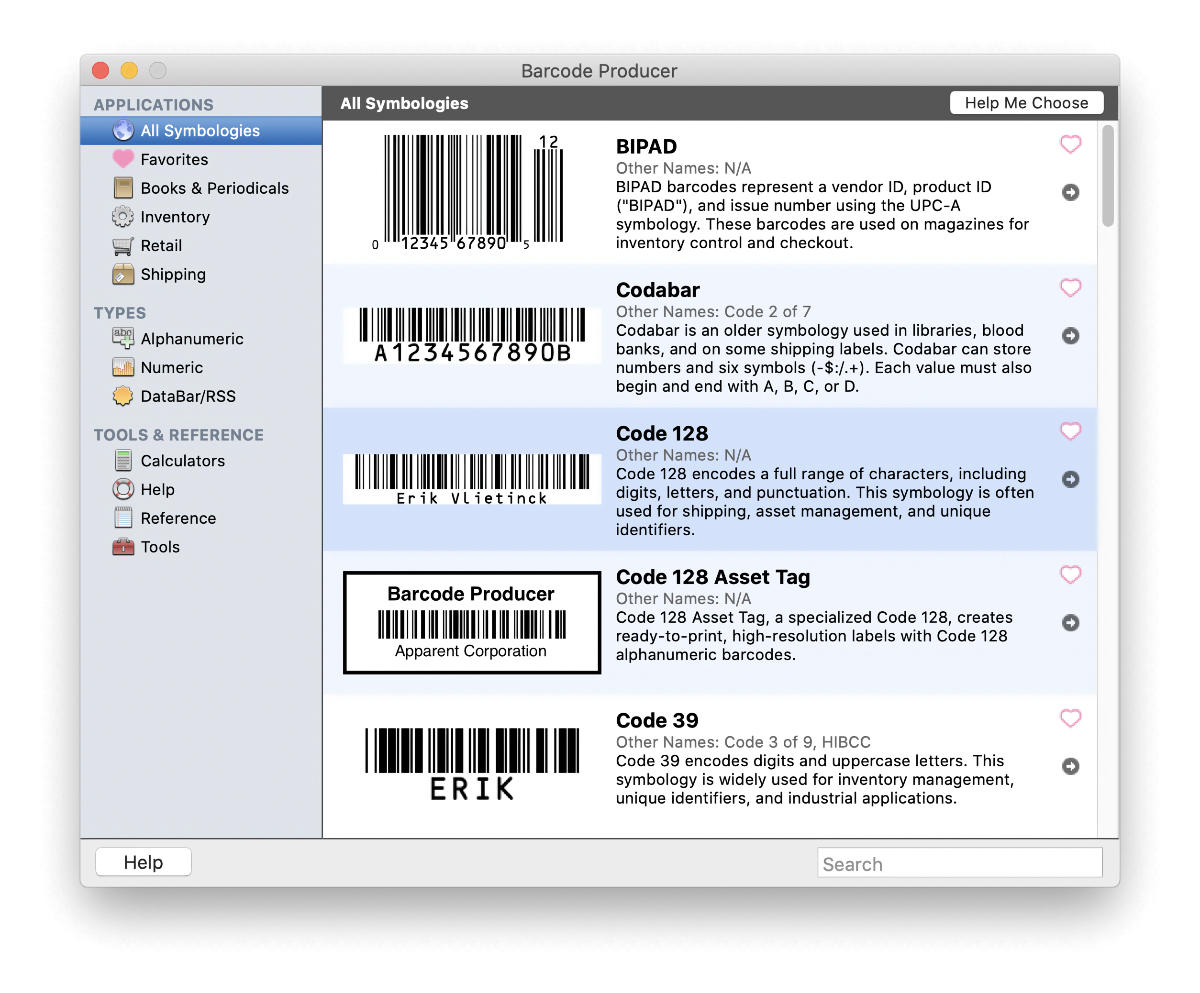
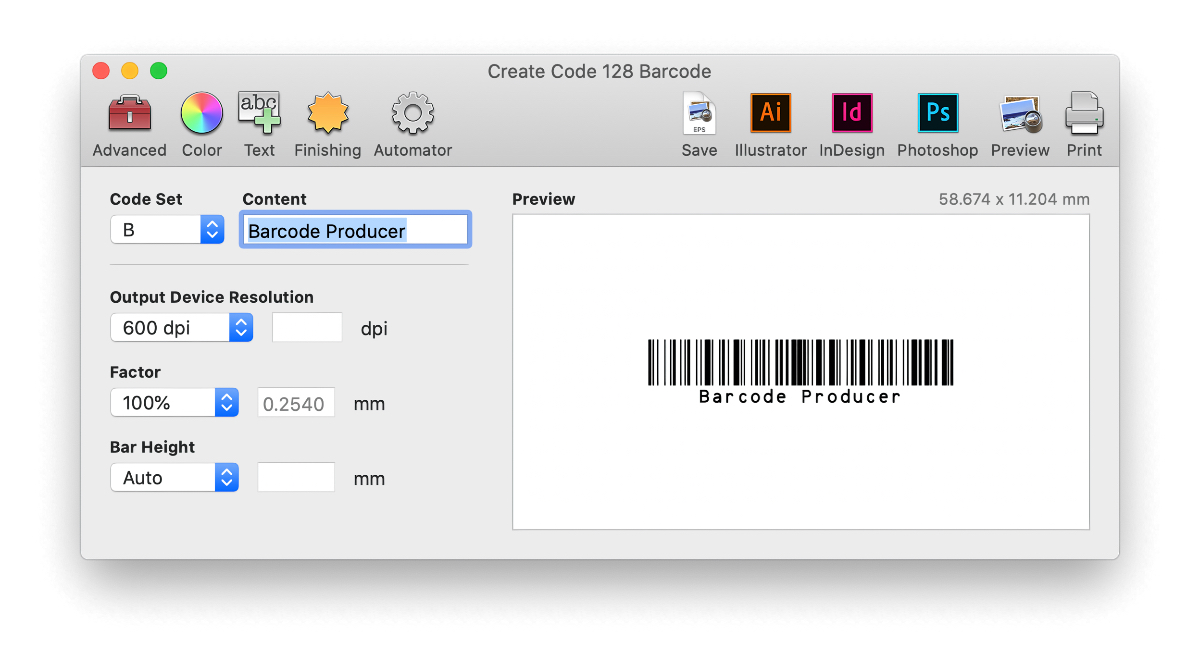
Select your barcode symbology — EAN 13, ISBN, QR Code… — from Barcode Producer’s main window. When you’re done creating the barcode, make a note of its size in the Preview window.

Step 2
Enter your barcode data. Click the Save button. You should set Barcode Producer to create a barcode in TIFF format. Apple Pages cannot print EPS or PDF barcodes correctly as the black bars run over into each other in those file formats.

Leave the resolution at the default value or consult with your commercial printer and either select one of the presets from the dropdown menu or select the Custom option and enter the resolution in the entry field.
Step 3
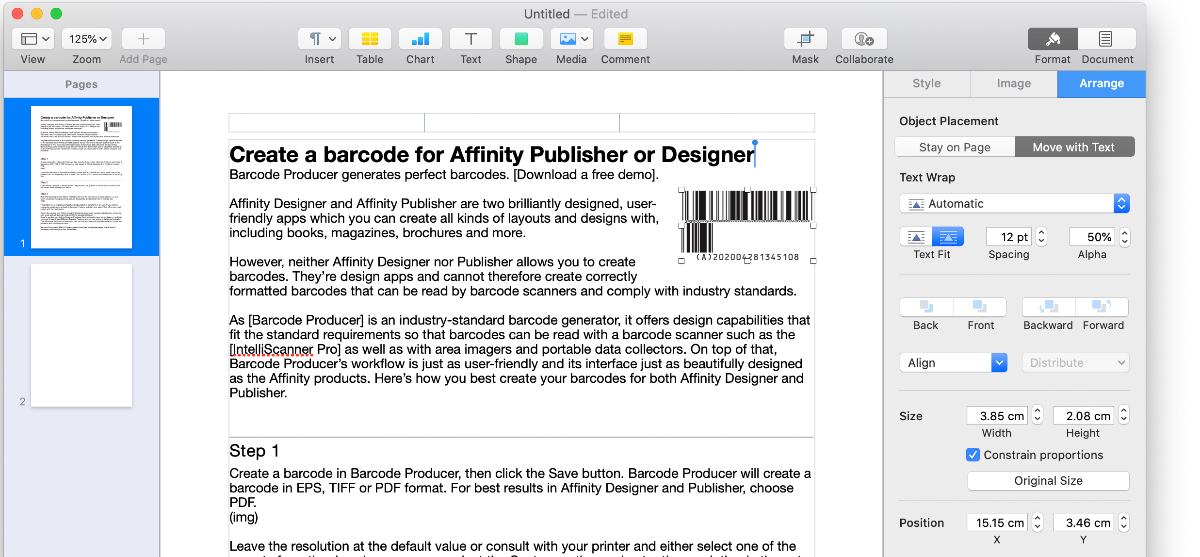
Open your document with text (or without) in Apple Pages. Drag and drop the barcode file onto your page. No matter where you drop it, it will appear in a default location.

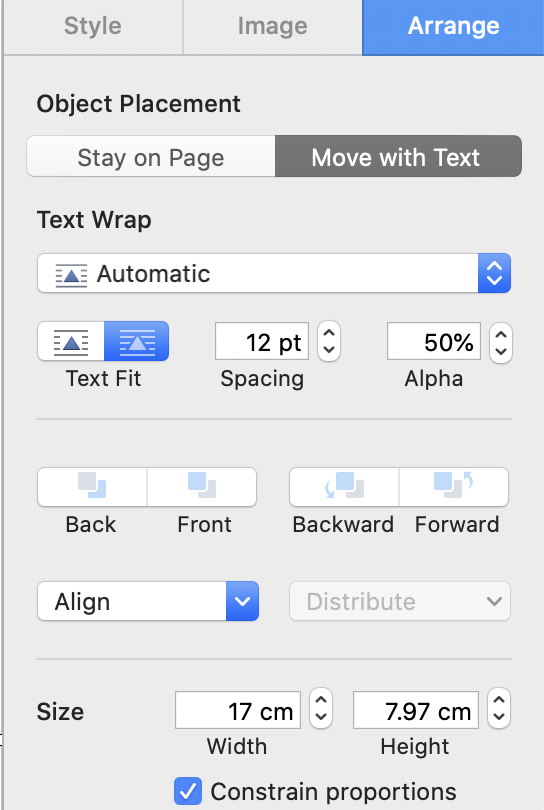
You can drag the barcode on the page wherever you want. By default, Apple Pages treats dragged images and vector art as detached from the surrounding text. If you want to change that, go to the Arrange tab in the Inspector and select one of the different settings but “Automatic” in the Text Wrap field. If you set Text Wrap to Around, make sure you leave at least 6pt in the Spacing field.
What to avoid
Although it’s advised against resizing barcodes in Pages, you will need to (see below), despite the fact that Barcode Producer creates a barcode at the exact size and proportions that fit the output settings you initially opted for and that ensures the barcode will comply with the industry standard for its symbology and print for best readability by barcode scanners.
You can rotate the barcode as it is rotated in full, but it will depend on your printer’s capabilities whether the rotation will cause ‘jaggies’ that are perhaps not even visible by the naked eye.
Jagged edges may make the barcode less easy to scan. Also, avoid dragging a barcode outside of the page margins. Some small part of it could run outside the printed area. Finally, do not use any of the features that are listed under the Style tab, nor any image adjustments, enhancements, nor masks or Instant Alpha that are listed under the Image tab on the barcode. Using any of these could decrease its readability.
Step 4
To print your barcode correctly, refer to the size you made a note of in Step 1. Make sure your Ruler units are set to cm in Pages’ Preferences panel. Select your barcode on the page and enter the width of the barcode in the Size field of the Inspector’s Arrange tab.


